It’s easy to forget how much of our scientific work hinges upon comparative data. The entire field of metrology is concerned with the verification and maintenance of “standard reference materials” (SRMs). Creating a perfect reference standard essentially involves proving a negative. In the XRD world, we need to prove that there are no impurities, no crystalline defects, no unaccounted for thermal variations, no stress/strain effects present, and above all, that the first unit produced is effectively identical to the last and all between.
There really isn’t any one material that checks all the boxes, but the NIST gets very close thanks to the efforts of Mr. Jim Cline and his associates. The hardware they’re using is completely custom to the point that it bares no resemblance to the instrumentation we normally work with. There’s a great page on their divergent-beam lab here.
The NIST 1976 material has been a mainstay in regular monitoring and certification of XRD system performance for many years and is now on its third (c) generation. With this most recent revision the shape of the standard has been changed from a flat plate to a round disk. This allows for much greater compatibility across the range of sample holders in the market.
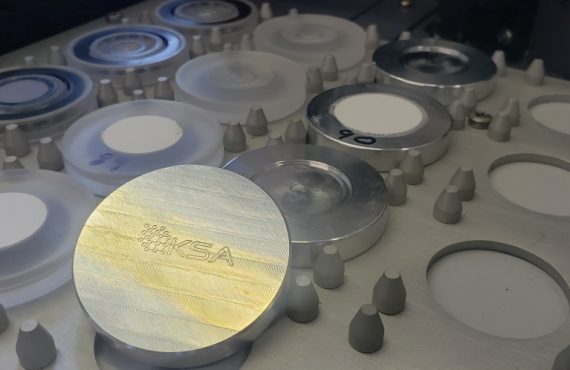
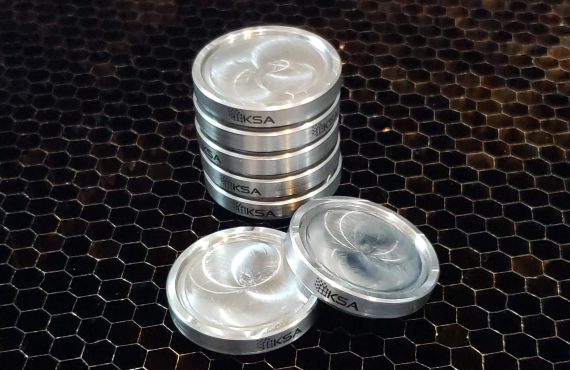
This week we made a custom mount for a company using a Siemens D5005 with a 40-position autosampler. It’s common to mount these, but this is the first time I can recall doing so for this particular autosampler so I thought it was worth sharing a little about the material and a picture of the finished product.

